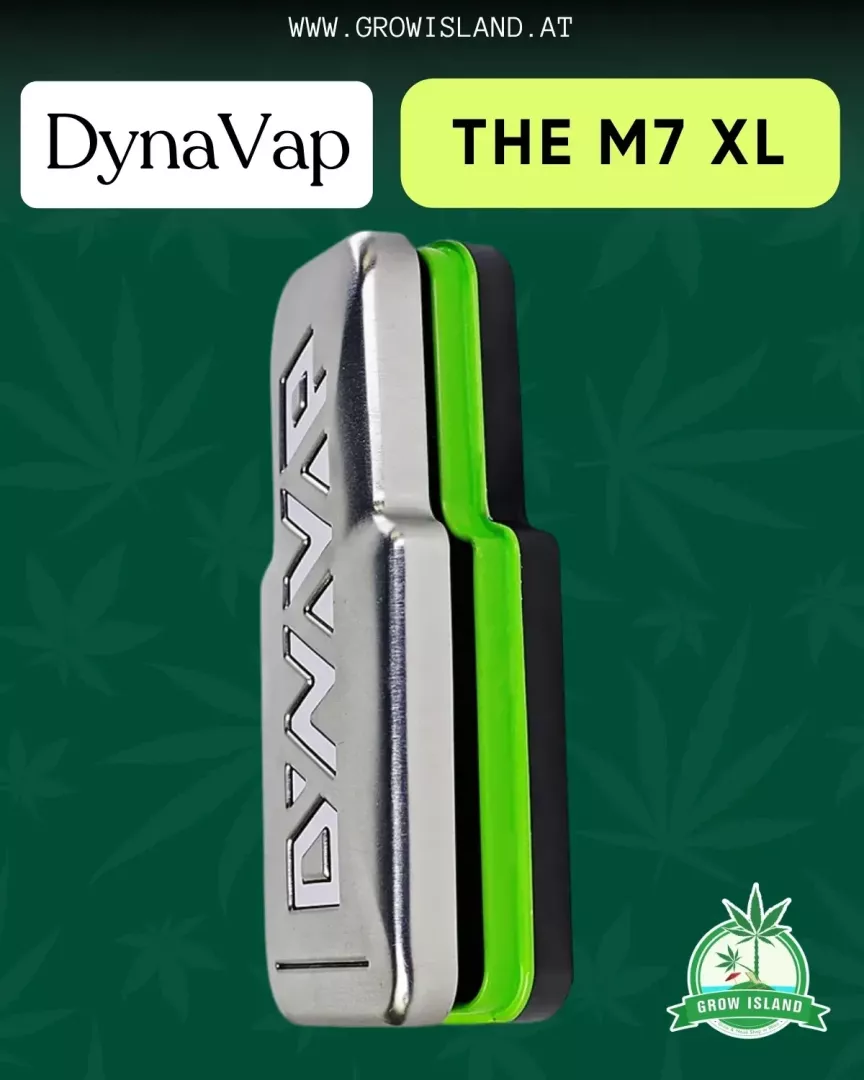
DynaVap The M7 XL – battery-free dry herb vaporizer
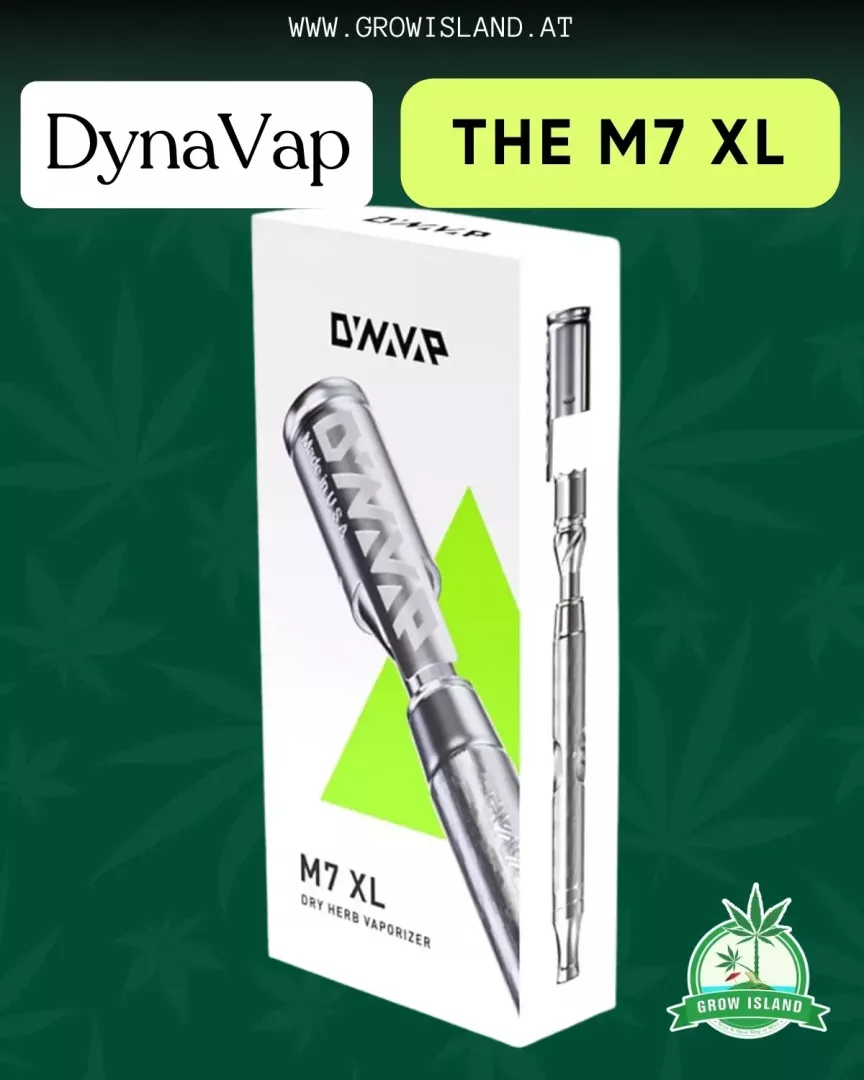
DynaVap The M7 XL is a battery-free dry herb vaporizer with stainless steel construction and a longer XL vapour path. It offers an approximately 0.1 g chamber that can be halved, 6 condenser positions and audible temperature signals. It operates with an external butane heat source or a compatible induction heater.
| DynaVap The M7 XL – battery-free dry herb vaporizer – Product specifications | |
|---|---|
| Brand | DynaVap |
| Model | The M7 XL / The M 7 XL |
| Type | Manual, battery-free vaporizer |
| Use | Dry herbs |
| Main material | Medical-grade stainless steel |
| Length | Approx. 10.8 cm |
| Weight | Approx. 26 g |
| Standard chamber size | Approx. 0.1 g |
| Reduced chamber size | Approx. 0.05 g; Adjust-a-Bowl |
| Chamber adjustment | By repositioning the CCD screen |
| Heating principle | Combination of conduction and convection |
| Heat source | Butane torch lighter or compatible induction heater |
| Temperature signal | Captive Cap: audible heating and cooling signals |
| Condenser | 6 airflow settings within the mouthpiece |
| Additional airflow control | Airport opening and Pivot design |
| Water filter connection | 10 mm |
| Power supply | The device contains no battery or electronics |
| Product number | Dynavap-T-M-7-XL |
| Manufacturer |
DynaVap
7208 Gene St customerservice@dynavap.com www.dynavap.com |
| Weight | 0.20 kg |
Product description

DynaVap The M7 XL – battery-free dry herb vaporizer
DynaVap The M7 XL is a manually operated, battery-free vaporizer for dry herbs. An external source supplies the heat, while a click from the Captive Cap indicates that the device is ready to use. This stainless steel device has no electronic display or battery to charge: its operation centres on heating the cap, following its temperature signal and allowing the cooling cycle to take place before heating again.
The XL design provides a longer path for vapour between the chamber and mouthpiece, giving it more opportunity to release heat along the way. The condenser inside the mouthpiece offers six positions, while the approximately 0.1 g chamber can be reduced by half using the Adjust-a-Bowl system. These adjustments have separate purposes: one changes the airflow, and the other changes the available chamber volume.
The M7 XL may appeal to you if you want a device that can be taken apart, fits into a pocket and rewards learning a manual heating routine. According to the manufacturer's specifications, it measures approximately 10.8 cm and weighs 26 g. Using the same heat source, keeping track of your settings and taking time over a few practice cycles can help you get to know how it works.

Stainless steel construction with individually accessible components
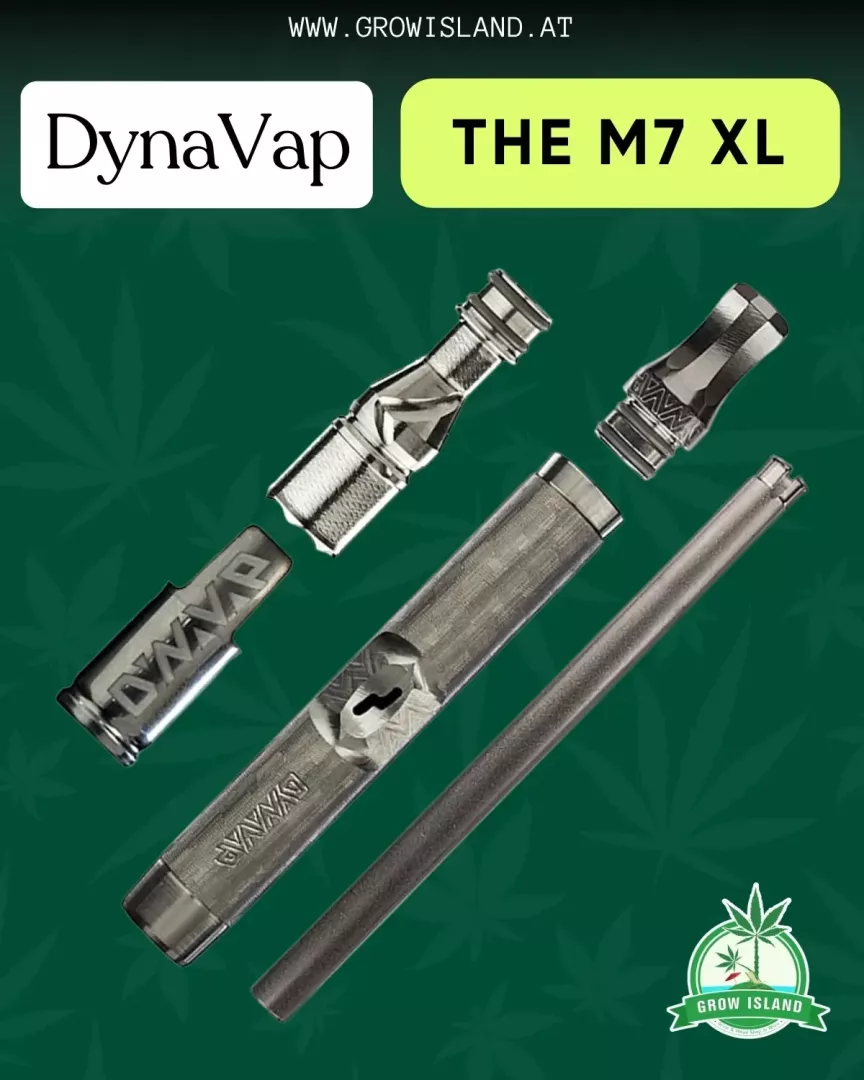
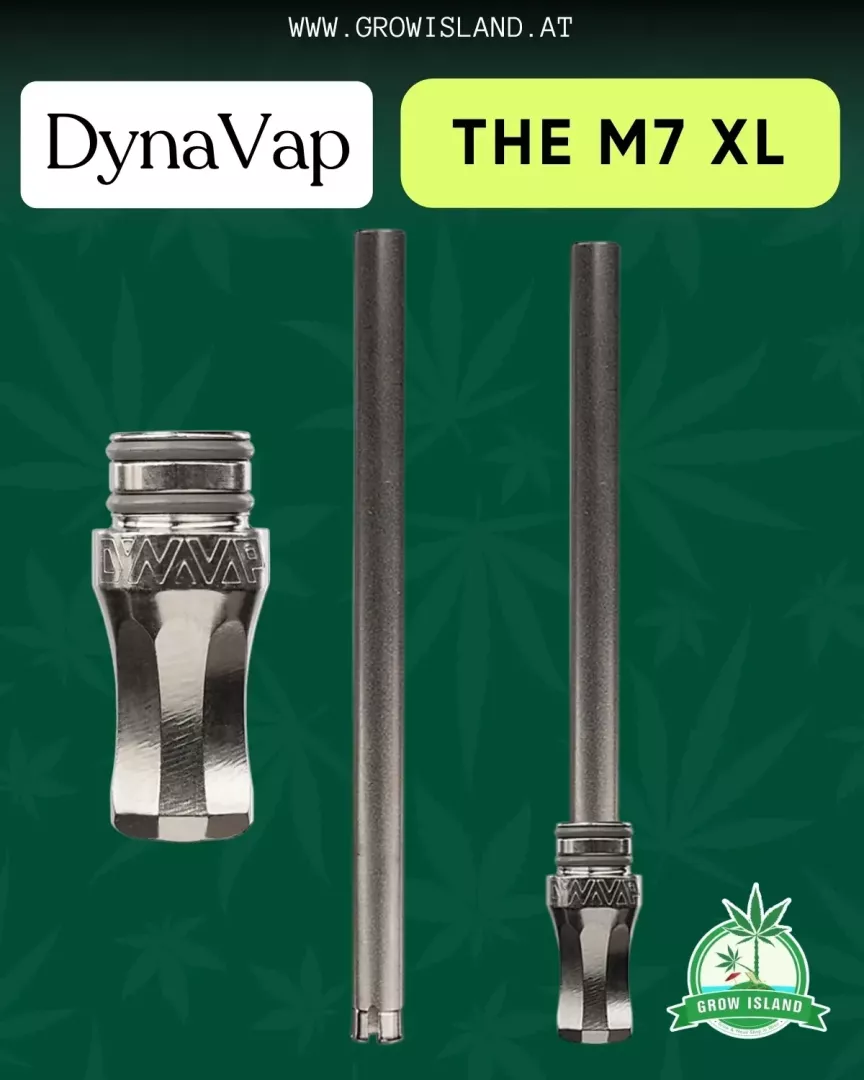
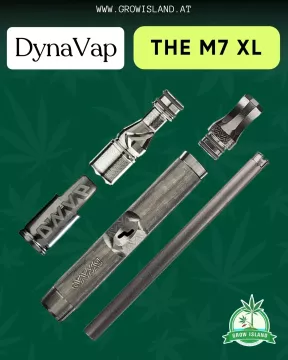
The main components of the standard M7 XL are made from medical-grade stainless steel. The assembly consists of a temperature-indicating cap, the Tip containing the chamber, the stem, and the condenser and mouthpiece. Having these as separate components gives you access to the internal surfaces during cleaning and makes it easier to understand the part each component plays in the device's operation.
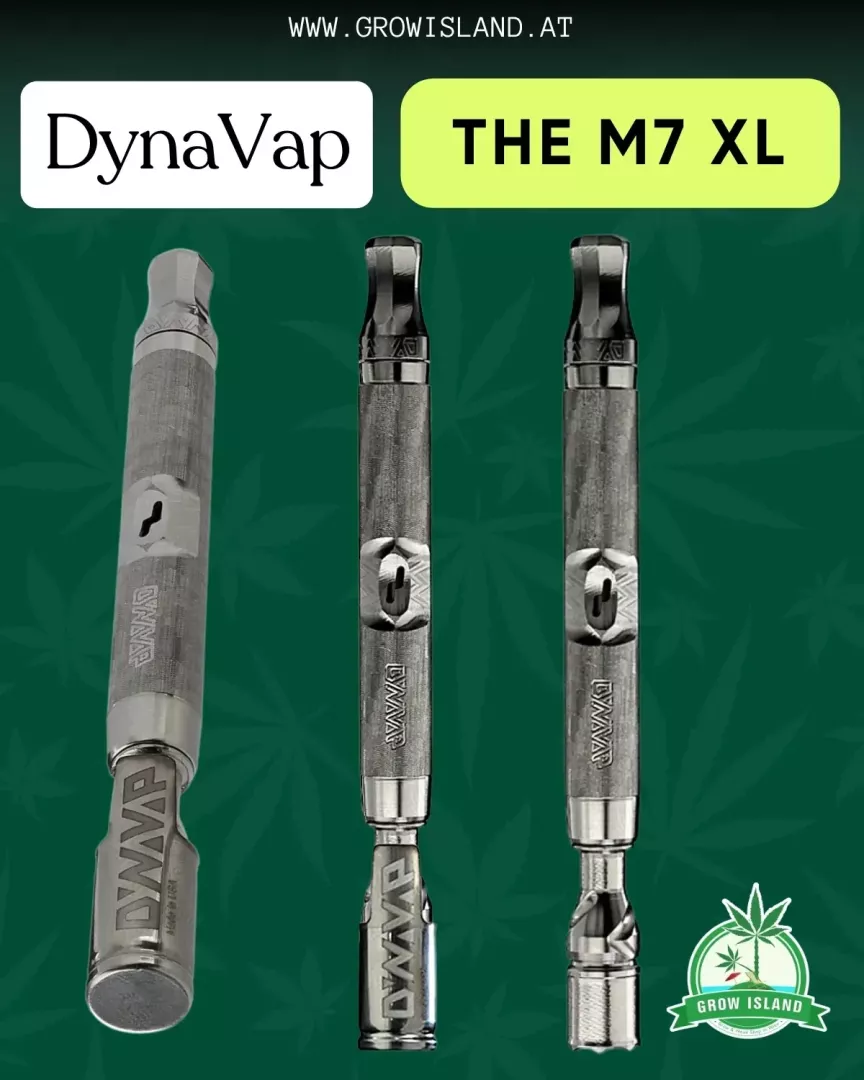
The textured stem helps with holding and orientating the device. With the finless M7 Tip, the manufacturer focuses on heat retention around the chamber and on reducing heat transfer towards the stem. The cap and chamber can remain hot after use, so wait until they have cooled before taking the device apart or changing its settings.

Captive Cap: separate signals for heating and cooling
The Captive Cap responds to temperature changes with an audible click. Remove the heat source when the heating signal sounds; another heating cycle can begin after the cooling signal. Understanding the cap's signals is central to operating the device. It is therefore worth observing a complete heating and cooling cycle with an empty chamber first, following the manufacturer's instructions as you do so.
A signal may consist of a single click or several clicks close together. Pay attention to whether the device is in its heating or cooling phase rather than simply counting clicks. Heat may still remain in the metal after the cooling click. Allow the cap to cool sufficiently before removing it by hand or putting the device away, and follow the manufacturer's current instructions throughout use.

A longer XL vapour path and six condenser positions
The XL mouthpiece and condenser assembly gives vapour a longer path while also providing airflow adjustment. There are six positions for the condenser within the mouthpiece. According to the manufacturer's instructions, the first position provides a more restricted airflow; pushing the condenser deeper into the mouthpiece provides further settings with increased airflow.
Make adjustments with cold, clean components and note your starting position. Initially, keep the other conditions unchanged so that you can recognise the effect of the condenser position. The airport opening and Pivot design on the stem provide additional manual airflow control. Getting to know these adjustments gradually makes it easier to find a draw that feels comfortable for you.

Adjust-a-Bowl: reduce the chamber by repositioning the CCD screen
The standard chamber is sized for approximately 0.1 g of dry plant material. Adjust-a-Bowl allows its volume to be reduced by half, providing a starting point for a load of approximately 0.05 g. The mass that actually fits will also depend on the material's texture, moisture and preparation, so the figures in grams are approximate rather than a fixed loading requirement.
The adjustment is made by changing the position of the CCD screen inside the chamber. Follow the manufacturer's screen adjustment instructions and check that the screen sits securely in its designated position. A smaller chamber can be useful when you prefer to work with a smaller amount. When loading, leave space for air to pass through and avoid compressing the plant material too tightly.

External heating with a butane torch or compatible induction heater
DynaVap recommends a butane torch lighter or a compatible induction heater for use with the device. When using a flame, heat the cap while rotating the device as directed by the manufacturer. With an induction heater, the heater's own operating and insertion instructions also matter. In either case, follow the cap's signal and stop applying heat when that signal sounds.
Heating time depends on both the chosen heat source and your technique. For your first attempts, it is useful to work with the same equipment and change only one setting at a time. Battery-free operation still requires you to plan for the external heat source: consider a safe location for flame heating, or the induction heater's own power supply and compatibility when using induction.

Storage, portability and a 10 mm connection
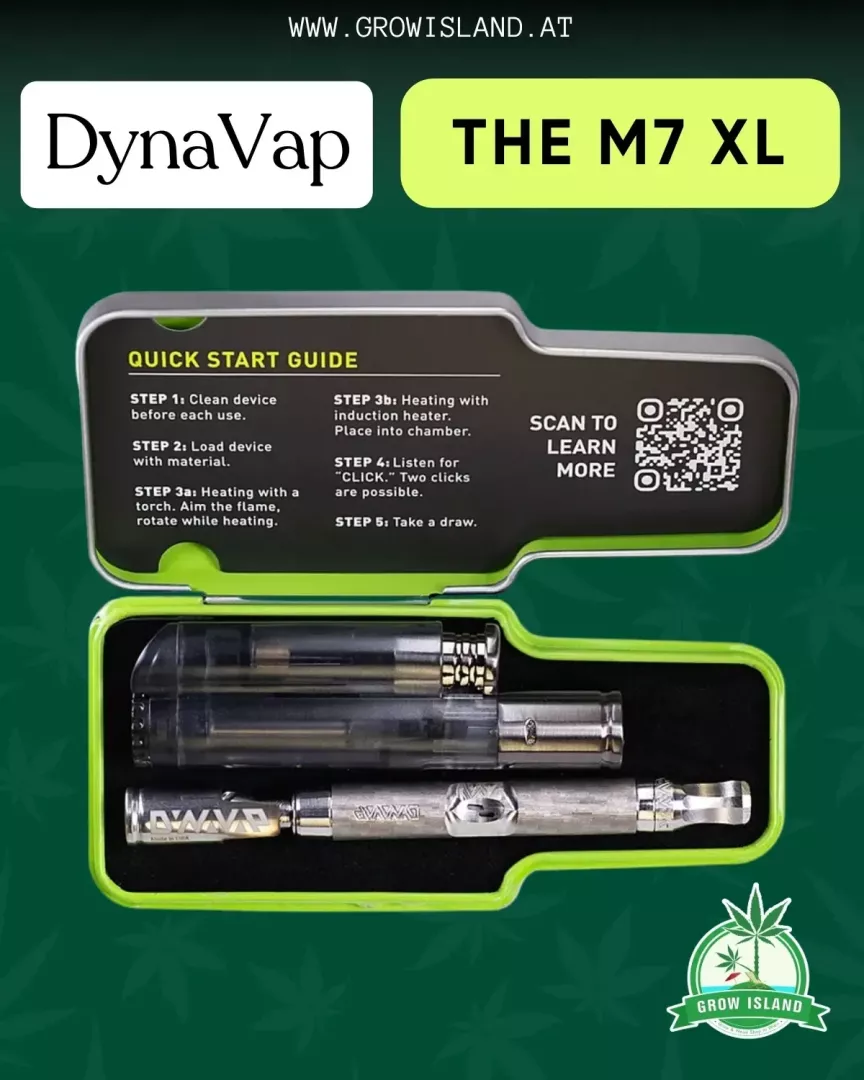
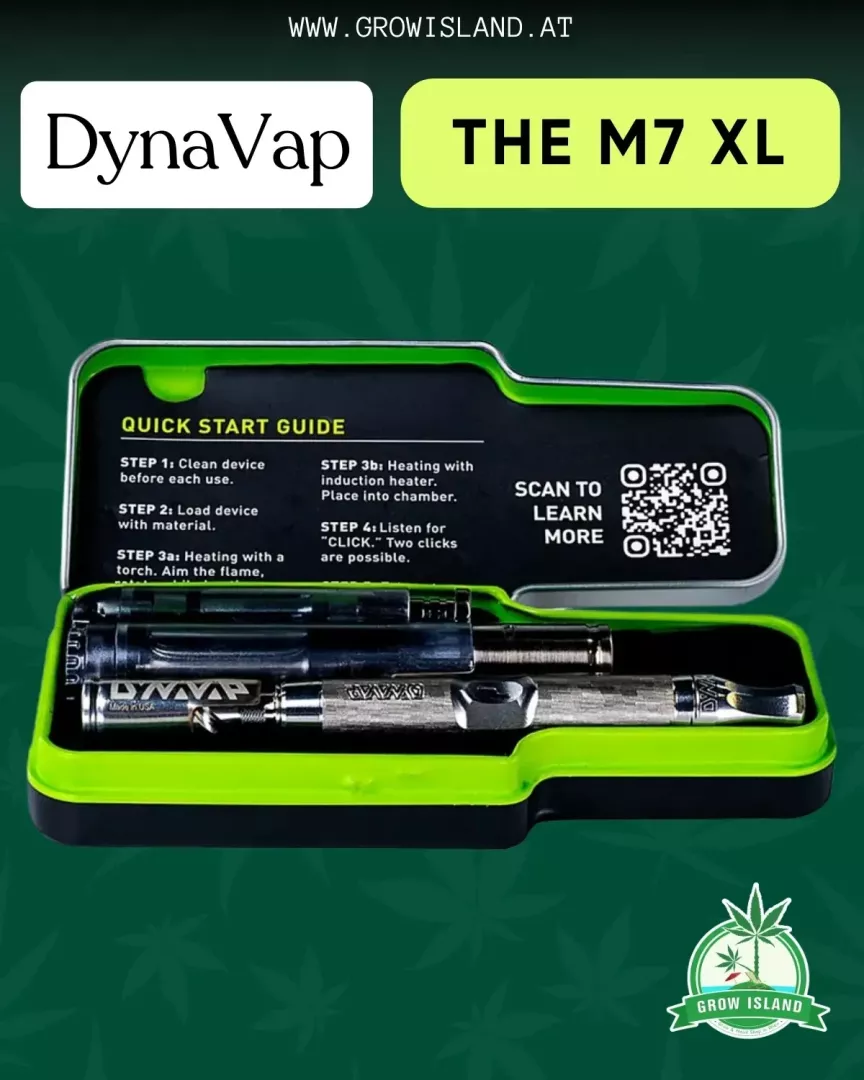
Its narrow shape and weight of approximately 26 g make The M7 XL easy to accommodate. The specified package includes a metal storage tin. Keep the tin in a clean, dry place, and only put the device inside once it has cooled completely. Making storage preparation the final part of your routine can be particularly useful when you intend to take the device with you later.
The manufacturer specifies compatibility with a 10 mm water filter connection for the M7 XL. If you use this kind of setup, check the actual size of the glass connection, the fit and the stability of the support. Other connection sizes require an appropriate adaptor. Fit the components together without forcing them, and follow the water filter's own handling instructions as well.
First use and a routine you can follow
Before using the device for the first time, familiarise yourself with the names of its components, how the cap is fitted and the location of the air opening. Check the device's condition and carry out the initial cleaning recommended by the manufacturer. An empty practice cycle makes it easier to recognise the temperature signals while concentrating on the device's behaviour rather than a chamber full of material.
A medium grind and a loosely placed load are useful starting points when preparing dry plant material. The serrated chamber rim assists with preparation and loading; whether you use a separate grinder will also depend on your preferred routine. To compare your first experiences, keep the chamber size, condenser setting and heat source the same, then change a single condition on the next occasion.
- With the device cold, remove the cap and check the condition of the CCD screen, chamber and assembled components.
- Place suitably prepared dry plant material in the chamber, leaving room for air to pass through.
- Refit the cap and prepare a heat source recommended by the manufacturer.
- Heat according to the manufacturer's instructions, then remove the heat source when the heating click sounds.
- Use the device through the mouthpiece, adjusting airflow with the airport opening and your previously chosen condenser position.
- Wait for the cooling signal before reheating. Allow the components to cool sufficiently before emptying, adjusting or putting the device away.
Cleaning: the cap and O-rings need separate care
The construction can be taken apart to give you access to the chamber, stem and condenser. During cleaning, lay out the small components in an organised way so that you can keep track of the CCD screen and O-rings. Removing residue from the internal surfaces also helps keep the air path clear. Adapt the cleaning frequency to how you actually use the device and the condition of its components.
The Captive Cap must not be soaked in liquid or placed in a dishwasher. The manufacturer provides separate instructions for the cap, describing careful, targeted cleaning. Remove the O-rings before cleaning the metal components with alcohol, as alcohol can dry them out. Always choose a cleaning product and method permitted for each individual component, following the instructions that apply to it.
Allow the components to dry completely before reassembly, then check the connections and air path. Keep cleaning separate from the heat source; do not heat the device near flammable cleaning products. If a seal is worn, the screen is damaged or the cap is not working correctly, choose the appropriate replacement component for the model and the manufacturer's current compatibility guidance.
Safe handling and careful adjustment
The heated cap and Tip can cause burns. Keep them away from skin and heat-sensitive surfaces, and prepare a place where the device can cool safely. Handle the cap and chamber, and adjust the condenser, only when the components are cold. Keep the device away from children and pets during both use and cooling.
Stop heating when the cap signals, then wait for the cooling signal before starting the next cycle. Begin learning the settings in calm surroundings where you can hear the click. For this dry herb setup, use only material suitable for the intended use and compatible components, following the instructions for both the device and its heat source.
Frequently asked questions about The M7 XL
What does the XL version add to the experience?
It provides a longer vapour path and a separate mouthpiece and condenser assembly. The six condenser positions also allow you to adjust airflow. When choosing, consider how the device feels in your hand, its longer format and the draw you find comfortable; the amount of cooling also depends on the actual conditions of use.
How can you start with a smaller amount?
Adjust-a-Bowl lets you halve the chamber by moving the CCD screen to its designated position. Keep the load open to airflow even in the smaller space, and continue to follow both heating and cooling signals. Make the adjustment with clean, cold components, following the manufacturer's instructions.
What do you need for battery-free operation?
The device uses an external heat source, so you also need to choose a suitable butane lighter or compatible induction heater. When planning to take it with you, consider the heat source's size, power requirements and conditions of use as well. Allow time for the device to cool completely before storage.
Technical specifications
| Brand | DynaVap |
|---|---|
| Model | The M7 XL / The M 7 XL |
| Type | Manual, battery-free vaporizer |
| Use | Dry herbs |
| Main material | Medical-grade stainless steel |
| Length | Approx. 10.8 cm |
| Weight | Approx. 26 g |
| Standard chamber size | Approx. 0.1 g |
| Reduced chamber size | Approx. 0.05 g; Adjust-a-Bowl |
| Chamber adjustment | By repositioning the CCD screen |
| Heating principle | Combination of conduction and convection |
| Heat source | Butane torch lighter or compatible induction heater |
| Temperature signal | Captive Cap: audible heating and cooling signals |
| Condenser | 6 airflow settings within the mouthpiece |
| Additional airflow control | Airport opening and Pivot design |
| Water filter connection | 10 mm |
| Power supply | The device contains no battery or electronics |
Package contents
- 1 × DynaVap The M7 XL device with Captive Cap and mouthpiece and condenser assembly
- 1 × metal storage tin
Why choose The M7 XL?
The M7 XL brings together stainless steel construction, a longer vapour path, adjustable airflow and a chamber that can be reduced by half. It can be a useful choice if you enjoy manual operation and value being able to access the device's main components for cleaning.
Your own settings and a consistent heating routine shape the experience. Choose a suitable heat source, learn the cap's signals, then gradually adapt the condenser position and chamber size to your preferences. The XL construction presented on this Grow Island product page gives you several distinct adjustments to work with.
Related Products

 -17%
Illuminati Lost Seeds / AUTO / 5N the Mornin

 -17%
Illuminati Lost Seeds / AUTO / Banshes Cali Breath


 -44%
Pirate Pie - Illuminati Lost Seeds

 -26%
Inferno ACE / Fem / Illuminati Lost Seeds
Share your experience, write a review.











 -9%
DynaVap The M7 XL – battery-free dry herb vaporizer


Hailea ACO-2202 air pump




 -10%
Sunny Diamond Haze Cannabis Clone


UGro Pure Coco Perlite 50 L
TBOX mechanical timer
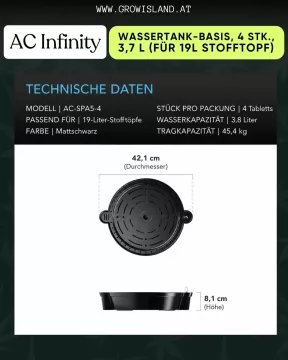

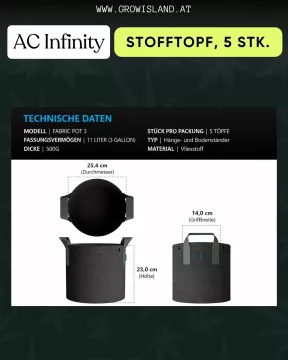
AC Infinity fabric pot 5 pcs
 -19%
Compact gravity infuser, black
 -30%
Modül Dok Deluxe Travel Set Tyson 2.0
 -14%
Solo III Version 1 Vaporizer







 -9%
Airizer XQ2 Vaporizer
 -8%
Veazy Dynamic Blue Vaporizer





AK-74 / AUTO / Trikoma Seeds




The Palmar / FEM / Trikoma Seeds






Patagonia / FEM / Trikoma Seeds


Jack Herer / FEM / Trikoma Seeds




Malquerida / FEM / Trikoma Seeds


Boca Negra / FEM / Trikoma Seeds




AK-74 / FEM / Trikoma Seeds


Gelato / FEM / Trikoma Seeds

 -24%
Secret Jardin Power Pack LED Vollspektrum 250W 3.01


XMax V4 Pro Vaporizer


VOVA Vaporizer


 -29%
5 Zombie Snack Auto Mix Pack / Auto / Illuminati Lost Seeds


 -15%
Sleepy Pack / Fem / Illuminati Lost Seeds


 -26%
Inferno ACE / Fem / Illuminati Lost Seeds


AlienZ / Fem / Green House Seeds


 -12%
Urban Garden Q200 LED 36x36cm Full Spectrum 200W 2.8

 -8%
Veazy Inspiring Orange Vaporizer


DynaVap The M7


Tightvac 11x1 cm Tightpacs


Microscope Mini 100x with light




Hawaii Maui Waui / FEM / Nirvana






Durban Z / FEM / Barney's Farm






MAC 1 / FEM / Barneys Farm


RS11 / FEM / Barney's Farm




Studio 54 pre-grown hemp plant







 -13%
Blue Zushi pre-grown hemp plant





Banoreoz pre-grown hemp plant




 -10%
Smackerz pre-grown hemp plant


 -2%
Sangria - Aficionado Seed Collection / hemp plant

 -44%
Pirate Pie - Illuminati Lost Seeds

 -50%
Akathcuki Jutsu - Illuminati Lost Seeds


 -23%
Yallah Haze - Illuminati Lost Seeds

 -27%
Zuviel OG - Illuminati Lost Seeds


Blue Monkey hemp plant

 -11%
La Bomba hemp plant / Compound Genetics

 -15%
Fizzy Bubblegum hemp plant


Jokerz 31 pre-grown hemp plant


 -8%
Prism Marker cannabis clone

 -20%
The Queen S1 cannabis clone


Runtz cannabis clone

 -25%
Colorado Nightshifter cannabis clone

 -25%
Blue Zushi TenCo Cut Cannabis Clone


 -11%
Snow White cannabis clone


Monster Maker Cannabis clone


Shiatsu Kush cannabis clone


 -32%
Illuminati Lost Seeds / FEM / Win Gardumim Leviosa

 -11%
Banana Runtz hemp plant

 -15%
Super Buff Cherry 26 GMSL cut hemp plant


Amnesia Gold hemp plant

Flowermate V5 Nano Vaporizer


Sour Ripper hemp plant


Pink Payton hemp plant


Zoap hemp plant


Khalifa Kush hemp plant



Sleepy Joe pre-grown hemp plant





Power Plant pre-grown hemp plant

Candy Store pre-grown hemp plant

 -11%
Lumen King Light Fixture 720W LED Eco Line

 -8%
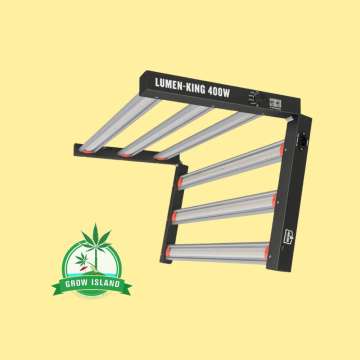
Lumen King Light Fixture 400W LED Eco Line

 -38%
Canna Terra Easybox


Animal Tsunami hemp plant


Bio Tabs - Perfect Plant Pack

 -27%
Tyson 2.0 x Stündenglass Gravity Infuser


Blockberry hemp plant

Osmosis filter

 -6%
VENTY Vaporizer






AK47 pre-grown hemp plant


Gelato 45 pre-grown hemp plant




VapoCane Fusion Set
 -13%
Trimming bag-Drytrim

HortiLight Green Led headlight


Banoreoz hemp plant





 -11%
MAC 1 (Capulator cut) hemp plant



Sweet Seeds / FEM / Psicodelicia










Sweet Seeds / FEM / Do-Sweet-Dos




Cap Junky hemp plant







Fast Buds / FEM / Lemon Mandarin

Fast Buds / FEM / Papaya Sherbet

Fast Buds / FEM / Rainbow Melon

Fast Buds / FEM / Gorilla Melon
 -20%
Dutch Passion / FEM / Melonade Runtz
 -29%
Dutch Passion / FEM / Lemon Z


Sleepy Joe hemp plant





 -16%
Dantes Inferno 8 (Milehighdave Cut) hemp plant




Strawberry Banana hemp plant


Super Orange Glue hemp plant

Fast Buds / AUTO /Apple Strudel








Anesia Seeds / FEM / Cash Cow




Anesia Seeds / FEM / Nova OG

Permanent Marker hemp plant

Wedding Cake hemp plant


White Satin hemp plant





Customer Reviews
No review has been published yet...